Imagine a dessert that combines the rich intensity of a chocolate cake with an irresistible, warm, flowing center – a true culinary masterpiece that feels incredibly gourmet, yet is surprisingly simple to create in your own kitchen. We're talking about the magnificent molten chocolate lava cake. And what if we told you that this decadent treat could be prepped ahead of time, ready to bake whenever a craving strikes or guests arrive? Get ready to transform your dessert game with this comprehensive guide to easy, make-ahead molten chocolate lava cakes.
The allure of a perfect molten chocolate lava cake lies in its beautiful contrast: a delicately crisp exterior giving way to an unbelievably warm, luscious liquid chocolate core. It’s a symphony of textures and flavors that has captivated diners in restaurants for decades, but bringing that magic home has never been easier. Forget complicated techniques; with a few key insights and a little planning, you can have these show-stopping desserts on demand.
The Allure of Molten Chocolate Lava Cakes: A Decadent Delight
Often referred to as "Chocolate Moelleux," the molten chocolate lava cake is more than just a dessert; it's an experience. Its signature is, of course, that dramatic "lava" flow of hot fudge that pours out when you break through the cake's tender shell. This ingenious creation stands as a delightful cross between a rich, flourless chocolate cake (though ours includes a small amount of flour for structure) and a delicate chocolate souffle, imbued with the pure decadence of a chocolate mousse.
But how does this enchanting molten center come to be? The secret lies in a clever baking technique. These cakes are baked at a high temperature for a relatively short period. This rapid heat allows the outer edges and top of the cake to set and bake through, forming a light, fluffy shell, while the interior remains gloriously underbaked and gooey – achieving that sought-after molten consistency. The result is pure bliss: a warm, intensely chocolatey flavor with an incredible textural journey in every bite.
Prepping for Perfection: Essential Ingredients and Tools
Creating extraordinary molten chocolate lava cakes starts with quality ingredients and the right equipment. You don't need a professional kitchen, but a few considerations will elevate your results significantly:
- The Chocolate is Key: This is the star of the show, so don't skimp! A great-tasting chocolate that melts smoothly is paramount. Many professional bakers recommend high-quality chocolate chips like Ghirardelli or Guittard bittersweet chocolate. While it's labeled bittersweet, it often provides a perfect balance that isn't overly dark or rich, appealing even to those who prefer a semisweet profile. Not all chocolate chips are created equal when it comes to melting consistency, so choose wisely.
- Butter Up: Good quality unsalted butter will provide the necessary richness and help create that silky smooth batter.
- Eggs for Structure and Lightness: Fresh, large eggs are crucial. They provide both structure and, when properly beaten, the airy lift that contributes to the cake's delicate texture.
- A Touch of Flour: Just a small amount of all-purpose flour gives the cake its form without making it dense.
- Ramekins are Your Best Friend: Standard 6-ounce ceramic ramekins are ideal for baking and presenting these individual desserts. Their sturdy sides help the cake rise evenly.
- Muffin Tin Alternative: In a pinch, a standard muffin tin can work! Fill about 10 of the cups. Be aware, however, that the baking time will be a few minutes less, and unmolding them perfectly can be more challenging due to the shallower, wider shape. For the best presentation, stick with ramekins.
- Mixing Tools: A whisk and a couple of mixing bowls are perfectly sufficient. While a stand mixer can be used, it’s not necessary for this relatively simple batter.
Mastering the Batter: Key Steps for that Perfect Molten Core
The beauty of these homemade molten lava cakes lies in a straightforward batter that, with a few crucial steps, ensures success every time. What’s more, this batter is incredibly forgiving and perfect for make-ahead convenience!
- The Mighty Egg Whisk: Do not underestimate this step! Beat your eggs until they are incredibly thick, creamy, very foamy, and significantly lighter in color. This aeration is vital; it incorporates air into the batter, which helps the cakes bake up light and fluffy, providing that wonderful contrast to the rich molten center. Think of it as creating a stable base for your cake’s structure.
- Gentle Chocolate Melting: Combine your chosen quality chocolate chips with butter in a heatproof bowl. Gently melt them together, either over a double boiler or carefully in the microwave in short bursts, stirring frequently until completely smooth and free of any lumps. Overheating chocolate can cause it to seize, so low and slow is the key.
- Combining the Elements: Once your chocolate and butter mixture is smooth and slightly cooled (but still warm), gently fold in your beaten egg mixture. Then, carefully stir in the small amount of flour. This is where precision pays off: do not overmix! Overmixing develops the gluten in the flour, which can lead to a tough cake. Instead, give the batter just a few quick stirs until the flour is barely combined and no dry streaks remain.
At this point, your chocolate batter should be a luscious, medium-thick consistency that is still pourable. Don't worry if you see small air bubbles throughout; that's perfectly normal and desirable!
The Make-Ahead Advantage: This is where the "easy make-ahead" aspect truly shines! Once your batter is prepared, you can cover it tightly and refrigerate it for up to 2-3 days. This means you can whip up the batter on a Tuesday and bake fresh molten chocolate lava cakes for a spontaneous Friday night dessert or a stress-free dinner party. Simply let the batter come closer to room temperature for about 15-20 minutes before filling your ramekins and baking, though it can also be baked directly from chilled, potentially adding a minute or two to the bake time.
From Oven to Plate: Baking and Unmolding Your Decadent Creation
The final steps are all about baking to perfection and presenting your masterpieces with flair. Achieving that signature lava flow relies on precise timing and careful handling.
Preparing Your Ramekins for a Clean Release
A well-greased ramekin is non-negotiable for ensuring your molten chocolate lava cakes pop out effortlessly. This allows for that beautiful, traditional presentation on a plate. Here’s the trick:
- Liberally Grease: Brush or rub softened butter generously over the entire inside surface of each ramekin. Pay extra attention to the bottom and, critically, the crevices where the bottom meets the sides. These are common sticking points!
- Cocoa Powder Dusting: Sprinkle a good amount of unsweetened cocoa powder evenly into the buttered ramekin. Rotate and tap the ramekin to ensure the cocoa coats all buttered surfaces, then invert and tap out any excess. This cocoa-butter barrier not only prevents sticking but also adds a lovely, subtle chocolate flavor and a beautiful dark finish to the cake's exterior.
Baking to Perfection
Fill each prepared ramekin about 2/3 full with your luscious batter. Preheat your oven to the specified high temperature.
- Monitor Closely: Bake just until the edges and top of the cakes are set, but the center still has a noticeable jiggle when you gently shake the ramekin. This "jiggle" is your visual cue that the molten core is still liquid. Overbaking, even by a minute, can solidify the center, diminishing the "lava" effect.
- Muffin Tin Note: If using a muffin tin, reduce the baking time by a few minutes, as they are shallower and will cook faster.
The Art of Unmolding
Once out of the oven, patience is key – but not too much patience!
- Rest, Then Release: Let the molten chocolate lava cakes rest in their hot ramekins for 2-3 minutes. This crucial resting time allows the cake to firm up just enough to hold its shape, making it easier to unmold cleanly. However, don't let them sit much longer, as the residual heat in the ramekin will continue to cook the center, potentially reducing the "lava-y" goodness. For more detailed insights on achieving the perfect molten center, check out our guide on Perfect Molten Lava Cakes: Secrets to a Flowing Chocolate Center.
- The Unmolding Flip: Using a thin knife or offset spatula, carefully loosen the edges of the cake from the ramekin. Place your serving plate upside down over the top of the ramekin. Holding both firmly together, swiftly invert them so the plate is on the counter. Gently tap the plate and ramekin a few times; the cake should slide out. Carefully lift the hot ramekin off the cake using a hot pad.
While you can absolutely dig into these divine cakes right in their ramekins, unmolding them onto a plate offers that classic, impressive presentation and makes for a truly delightful reveal.
The Ultimate Convenience: Make-Ahead Tips for Lava Cakes
The true magic of this recipe, beyond its incredible flavor, is the effortless make-ahead capability. This transforms what might seem like a special-occasion dessert into an everyday luxury or a stress-free entertaining solution. Imagine the delight of spontaneously deciding to have warm, gooey homemade molten lava cakes without having to start from scratch!
Storing Your Batter
Once prepared, the batter can be covered tightly with plastic wrap and refrigerated for up to 2-3 days. This gives you incredible flexibility. Heading to a friend's house? Bring the batter, and bake fresh cakes on site! Planning a dinner party? Prepare the batter in the morning, and simply pop the ramekins into the oven after the main course is cleared. For additional essential tips and tricks to elevate your baking, explore our article on Homemade Molten Lava Cakes: Essential Tips for Decadent Results.
Serving Suggestions
While a molten chocolate lava cake is a complete dessert on its own, it’s also a perfect canvas for accompaniments:
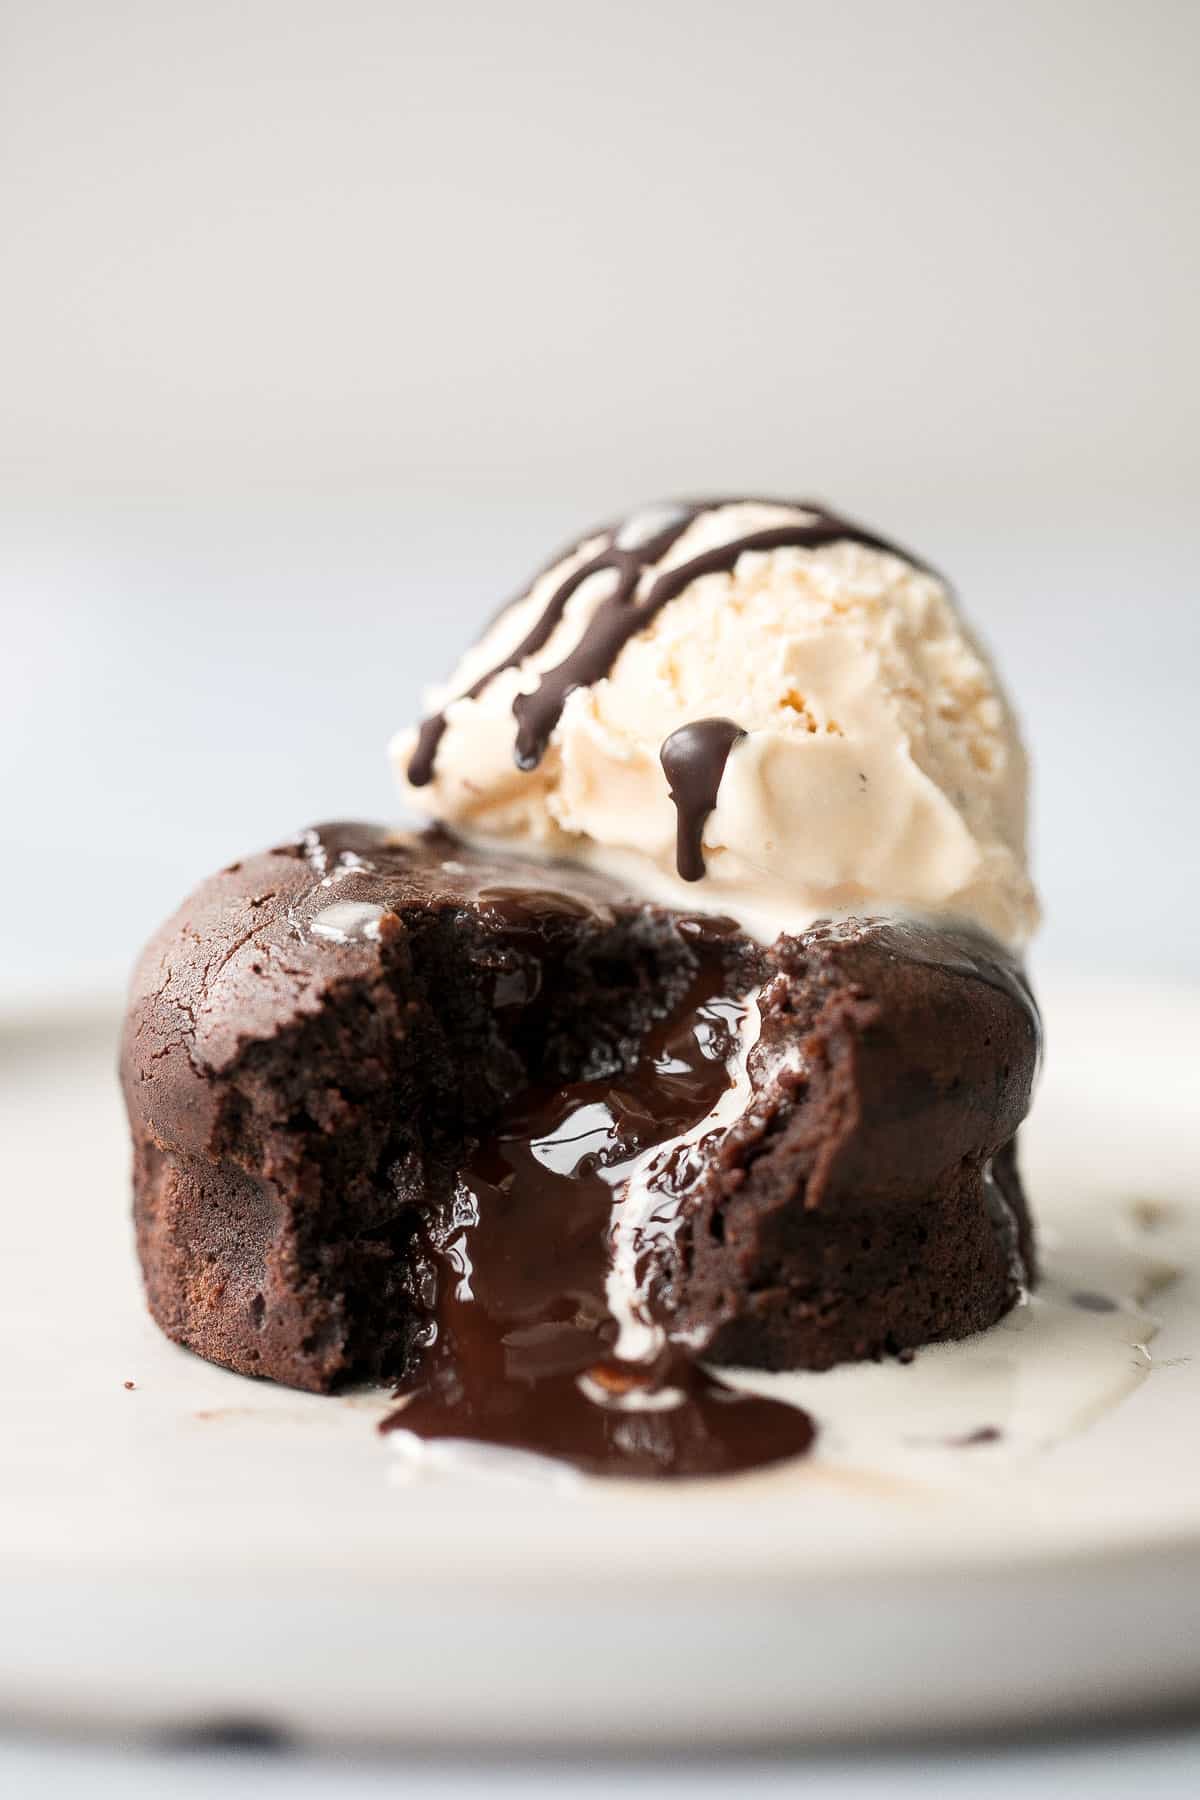
- Classic & Cool: A scoop of vanilla bean ice cream is a timeless pairing, offering a delightful temperature contrast.
- Fruity Freshness: Fresh berries (raspberries, strawberries, or blueberries) provide a lovely tart counterpoint to the rich chocolate.
- Creamy Delight: A dollop of lightly sweetened whipped cream or crème fraîche adds an extra layer of luxury.
- Simple Dusting: A light dusting of powdered sugar or cocoa powder adds a touch of elegance without overwhelming the star of the show.
With these make-ahead molten chocolate lava cakes, you’re not just baking a dessert; you’re unlocking a world of spontaneous indulgence and elegant entertaining, all with remarkable ease.
So, there you have it – your comprehensive guide to creating easy, make-ahead molten chocolate lava cakes right in your own kitchen. From understanding the alchemy of the molten core to mastering the art of the unmolding flip, every step is designed for success. No longer confined to restaurant menus, this dream dessert is now firmly within your reach, ready to impress with minimal effort and maximum deliciousness. Embrace the joy of homemade chocolate decadence, prepared whenever the mood strikes!
